Article: Wallet Kits 101
Wallet Kits 101
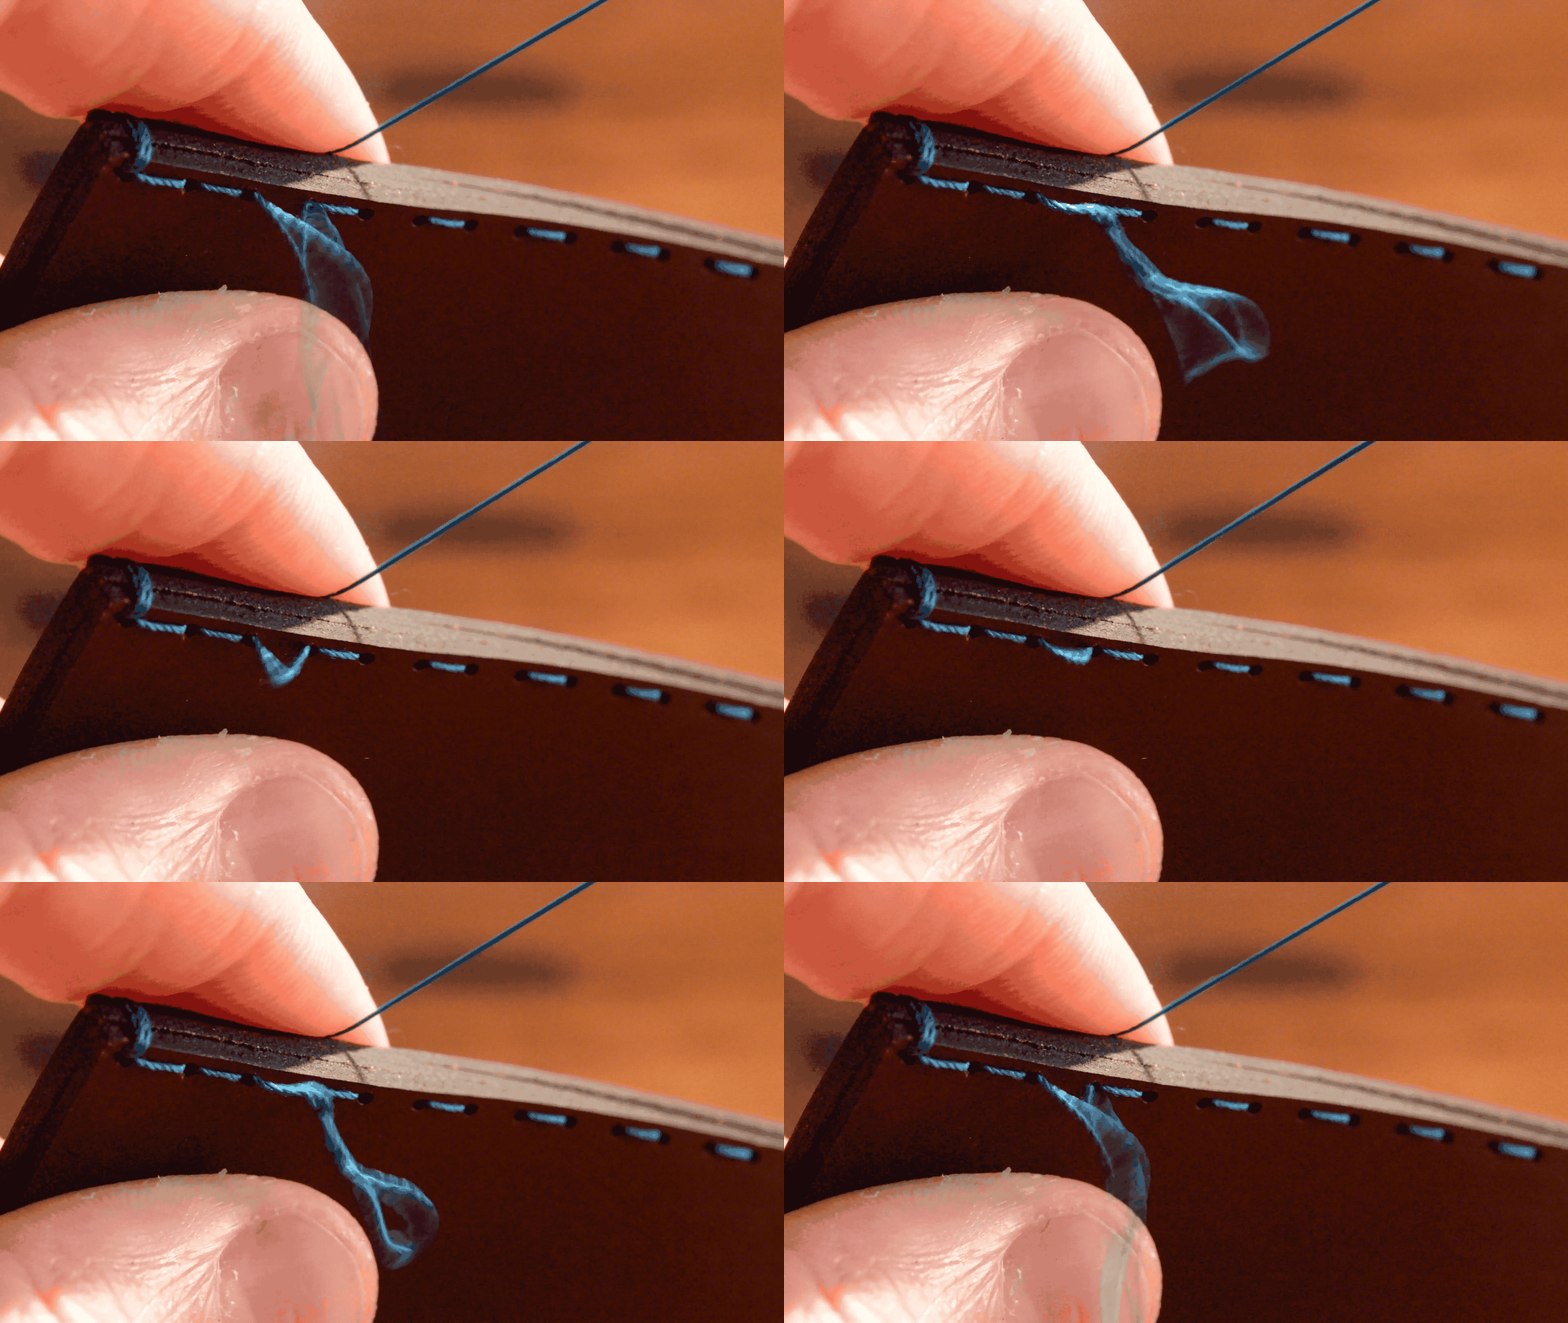
Wingback kits are designed to be simple to put together. Each hole is precisely cut so you just need to feed the thread provided through them.
![]()
How to stitch your Wingback wallet
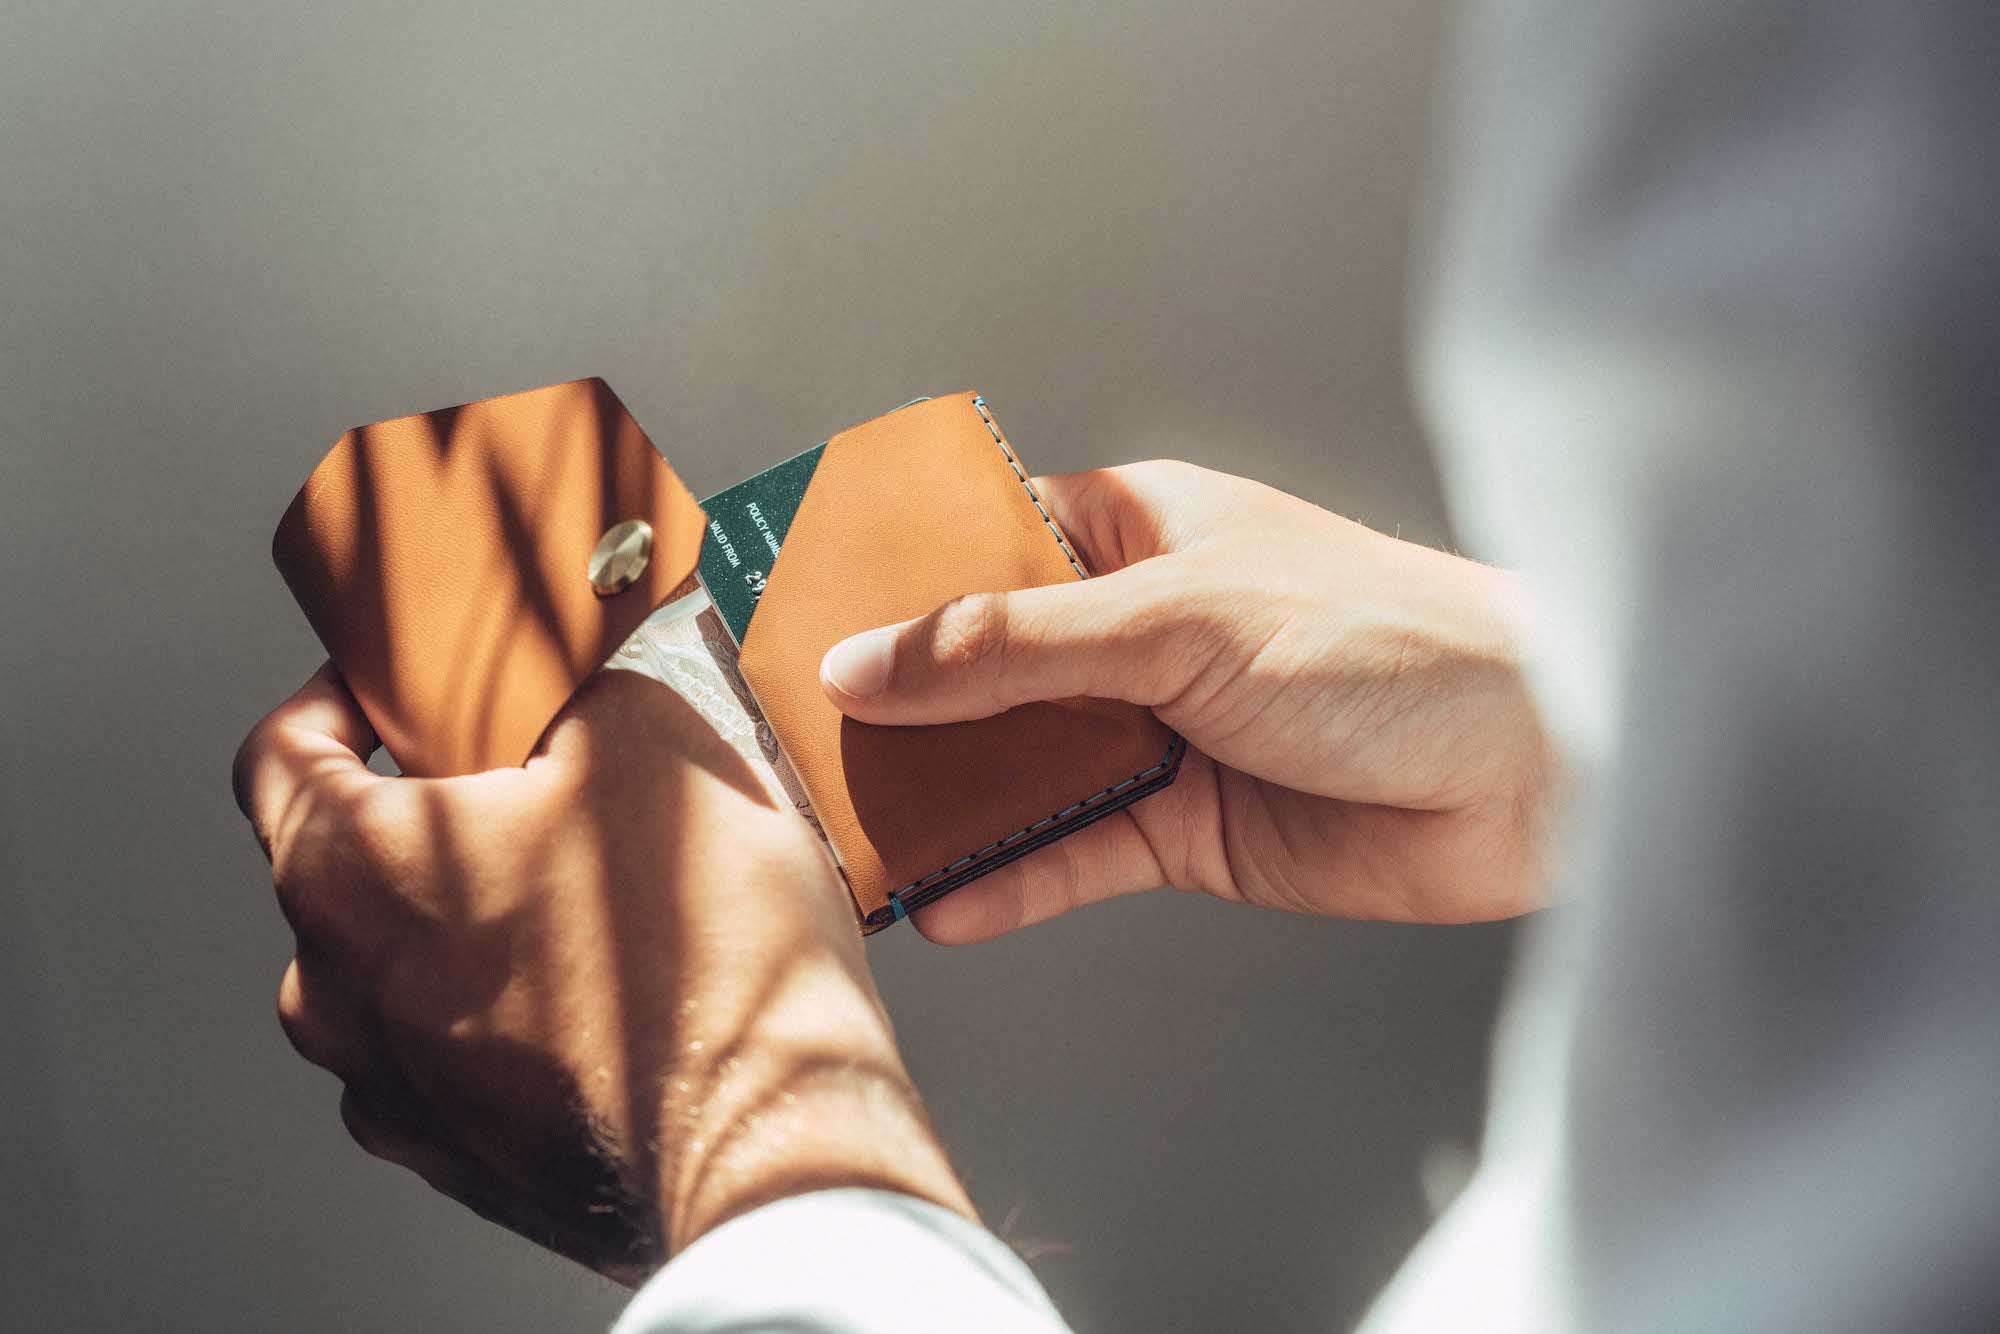
Wingback Kits are your chance to get creative: a single piece of unlined leather, seven thread colours and a needle for you to complete your Card Holder or Card Wallet how you like it.
Use this video and the tips below to create your very own Wingback masterpiece.
To stitch the perfect Wingback Card Holder or Card Wallet follow these simple steps:
1. Tie a knot in one end of the thread, leaving around a 5cm tail. Feed the other end through the eye of the needle. No pressure...
2. Nailed it? Next, fold the leather over to line up the pre-cut holes.
3. Starting from the inside of the leather to keep the knot hidden, feed the needle through the first hole.
4. Continue to stitch the wallet up one eyelet at a time, including a few loops at either end to add strength.
5. When you return to the start, feed the needle through to the same layer as the tail and tie a double knot.
6. Cut the thread off by the knot and tuck any excess thread between the leather layers so it is well hidden. Hey presto, you're done!
![]()
For more wear, care and breaking in instructions, visit our support section here.



Leave a comment
This site is protected by hCaptcha and the hCaptcha Privacy Policy and Terms of Service apply.